How They Did It: Jérémy Clapin Explains The Unconventional Production Process Of ‘I Lost My Body’
Garlanded at Cannes, triumphant at Annecy, and picked up by Netflix (where it debuts today), I Lost My Body arrives on a tidal wave of hype — or at least as much hype that’s possible for a low-budget independent European animated feature. Jérémy Clapin’s feature debut, which was produced at French production company Xilam, is being lauded in many quarters as a masterpiece of hand-drawn animation. The reality is a little more complex.
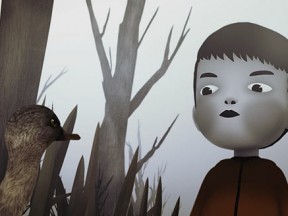
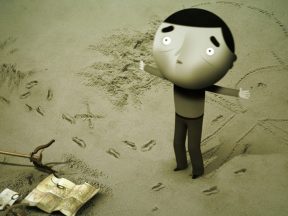
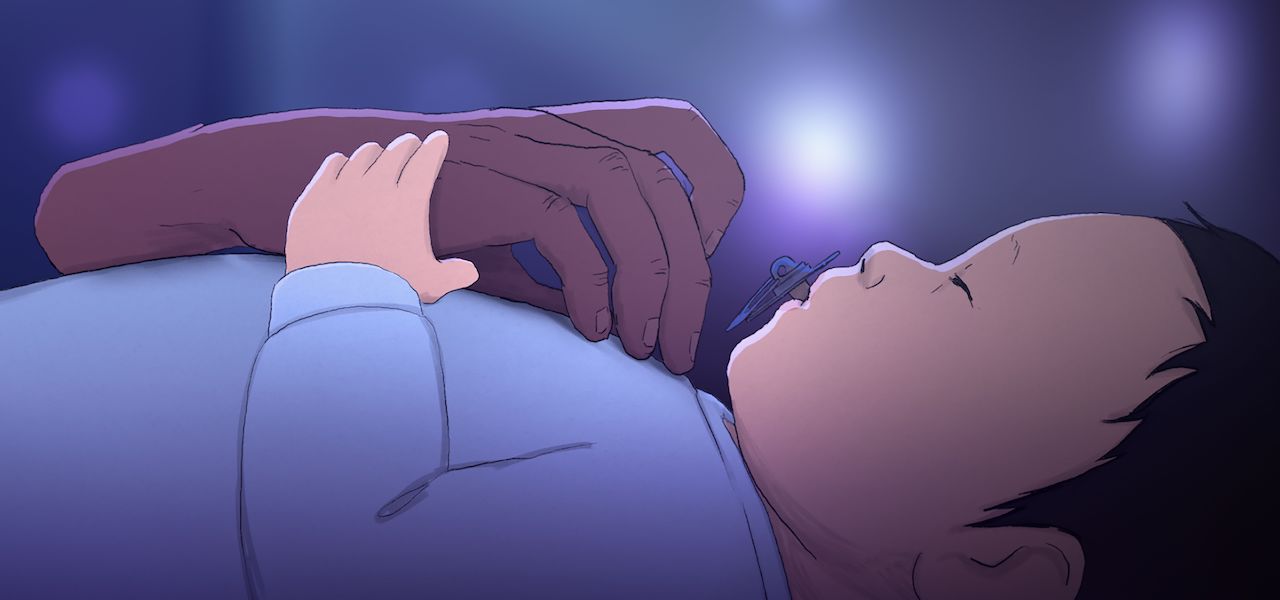
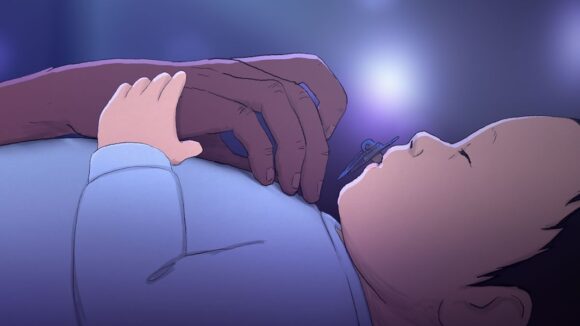
Like the director’s short films Skhizein and Palmipédarium, I Lost My Body was animated in the software Blender, albeit with a novel pipeline that came together through much trial and error. The 3d basis allowed the team to experiment with dynamic staging, particularly in the action set-pieces involving the hand. Using one scene as a reference, Clapin walked Cartoon Brew through the pipeline. The videos show the scene’s animatic, 3d animation, 2d animation, and final version (in that order).
Jérémy Clapin: We started like every other production with the storyboards. All were drawn with Adobe Flash. On this specific animatic sequence, which was done by Julien Bisaro, we worked really hard on the animation by adding a lot of in-between and precise camera moves. We did the same for many other sequences involving the hand.

The next step after the animatic was the layout and animation in cgi with Blender. We decided to make the film in Blender just three months before the start of production (laughs). I was thinking about the final pipeline for my film and came across a video online about Grease Pencil. It’s a 2d tool integrated in Blender which allows you to draw and animate the way you would with a classic 2d software, but also leverage some of the upsides of cg technology (such as drawing upon a sculpt, or pairing a 2d layer to the rig, to the bones of your character, etc). So I did some tests to improve the pipeline, and it worked well and very efficiently!
As you can see, the modeling of characters and sets was quite basic. Every camera move had to be locked during the layout and animation in Blender. After this, the 2d animators were able to draw directly upon the cgi. We developed a specific interface in Blender to be more animator-friendly. We can say it’s all actually hand-drawn, except sometimes we were able to automatically generate the line through the freestyle rendering.
Meanwhile, the background and camera map artists were using basic rendering to help them create their backgrounds in Adobe Photoshop. All the backgrounds are hand-drawn (line and texturing); sometimes we were even using an automatic freestyle line rendering to speed up the process. The challenge was to bring out the organic and pictorial look of the film, in both the animation and the backgrounds.
The challenge with this kind of pipeline was to find the balance between cgi and 2d — to know when to stop the cgi to jump into the 2d. And to know how to communicate the intention between these two media.
Even though the focus was on the cg animation, 2d animators were able to add some in-between and of course some details. Their mission was to make it organic and alive; finalize facial expressions, clothes, hair; add 2d effects. I also gave them some freedom in the way they drew the characters, since it had to feel organic in the end.
Then we did the compositing. We chose to do it in Adobe After Effects since it made sense for this kind of look. The compositing process was really important in integrating all the different elements of the film, and also in creating the final atmosphere.
Some parts of the final film are reduced to 12 frames per second, sometimes fewer, sometimes more. It depends on whether the action is fast or slow. To be frank, it was both a monetary and artistic decision. When you have to work with a small budget, you learn to prioritize, and removing some frames helped make better use of our money while also supporting the film’s visual language. I prefer for the animation not to be too smooth, so a different frame rate helped bring dynamism and strength.
Like many directors coming from short films, I’m used to being very involved in the storyboarding and animatic, but also with the cgi animation, the 2d animation, and the compositing. I think it is helpful for the team when the director knows what he is talking about, especially when he is the one who has decided to go for this crazy pipeline (laughs). The pipeline was all new and a giant pilot test for sure, and I’m so glad that Xilam allowed me to try it. Looking back, the film wouldn’t have been possible without these tools and Blender.
Pre-production, modelling, animatic, storyboard, and compositing were done at Xilam Studio Paris. Layout, 2d animation, rendering, and backgrounds were done at Xilam Villeurbanne. And the cgi animation was produced at Gao Shan Pictures on Réunion island. Eight people worked on the 3d modeling and rigging, 18 on the 3d animation (including four leads), and 22 on the 2d animation (with one lead).
I Lost My Body launches on Netflix in most territories today. Its limited theatrical run in the U.S. began on November 15.