Cordell Barker: My God-like Process On ‘If I Was God’
What would you do if you were 12 and suddenly found yourself charged with God-like powers? Would you use them for good? For bad? Perhaps a little of both?
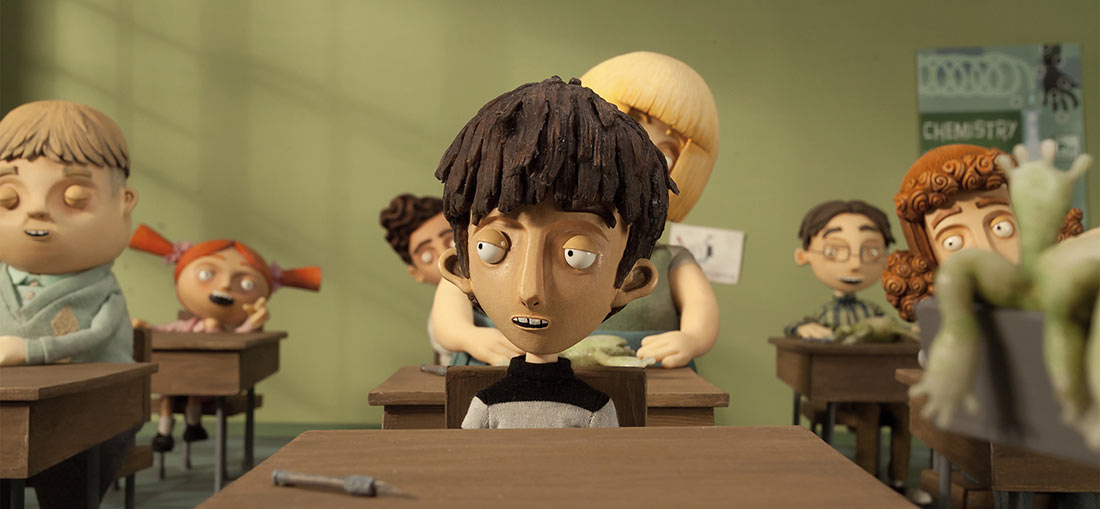
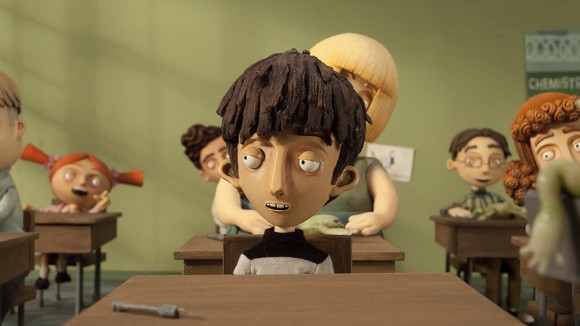
For one Grade 7 boy whose mind starts to wander while dissecting a frog in Biology class, the possibilities seem endless, and that is the beginning of If I Was God, the charming new film by two-time Oscar-nominated director Cordell Barker (The Cat Came Back, Strange Invaders).

But how did Barker come up with the film’s distinctive visual approach? In the piece that follows, Barker shares the technical challenges of bringing his vision to the screen.
My God-like Process On If I Was God by Cordell Barker
In the Beginning
This film was a big departure from my usual naive hand-drawn animation style. I wanted to make a film in stereoscopic 3D, so that I could play with objects in contained depth—like a diorama in school. The best medium with which to achieve this form of surrealism was stop-motion animation. A big part of this technique’s appeal for me was that it would force me to work with others—it would require a much larger crew than my previous films did.
Deluding Myself
My big concern, though, was to be able to communicate my very specific animation timing to my stop-motion crew, Dale Hayward and Sylvie Trouvé. I knew how unforgiving stop-motion animation could be and didn’t want them having to re-do any parts of the film, if that could be avoided.
So, I thought “I’ll just take a few months to learn the Maya program and create the whole film as a very simplified CGI-animated pre-visualization.” After five months of endless tutorials and self-training, I learned just enough to realize how incredibly over-optimistic I had been.I abandoned that plan.
Really Deluding Myself
But, I still needed a pre-viz for my stop-mo crew, so my next bright idea was to film myself in front of the green screen in the various positions of all the characters, and then composite it all together in Adobe After Effects. While interesting to create and ridiculous to look at, it would have been a nightmare to composite my live-action self into a timing that would work for my timing guide. I could alter overall timing of a character’s actions, but I couldn’t really alter the timing of specific elements, such as an arm movement or facial expressions. Click the link to see just how fantastically wrong-headed I was in even considering this approach!
So, I abandoned that plan, too.Final Recipe
I went back to Maya and the world of CGI, but this time I only needed what I had already learned, which was just enough to build the exact classroom set, create non-animating primitives for placement of the kids and teacher and work out all my camera angles and field of view to know how many animating characters would be visible in each shot. That way I could avoid creating too much extra work for the animating crew.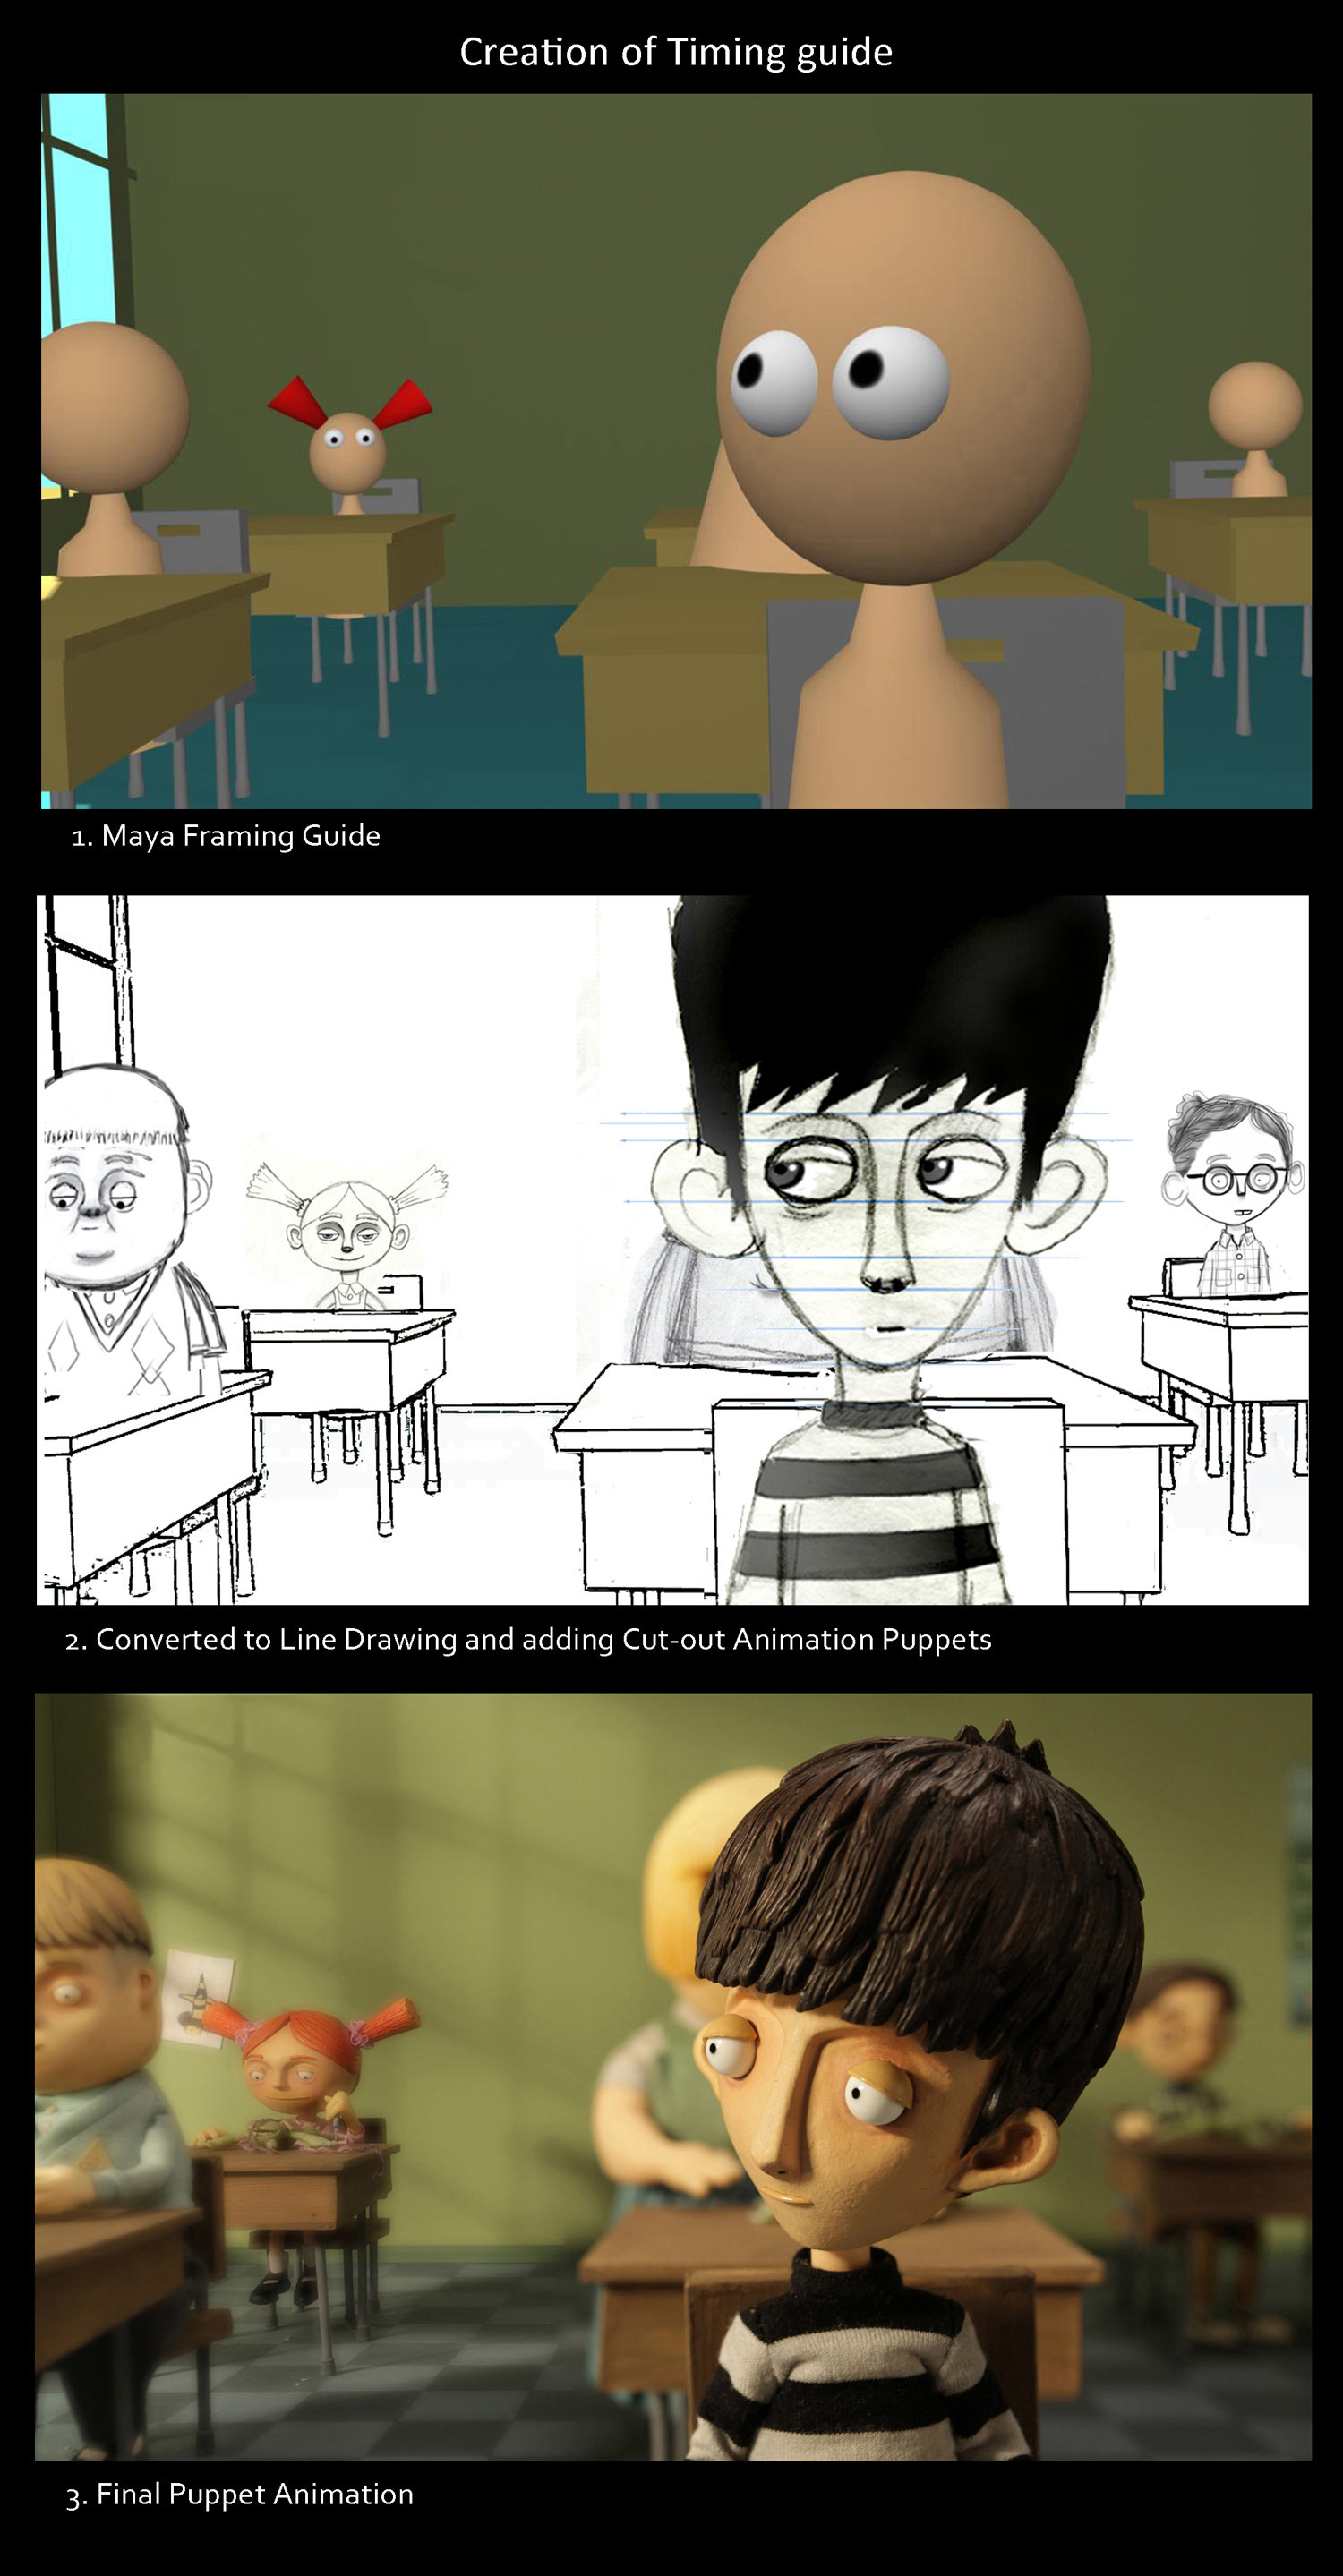 Once I had generated my CGI framing guides, I converted those Maya stills into line drawings. I then created cut-out animation puppets that I could manipulate in Adobe After Effects. It was a very useful method and proved worthwhile when I would edit together full assemblies of the cut-out animation scenes and only then notice if a single specific shot had the correct timing or not. Without this pre-viz method, there would have undoubtedly been some final puppet stop-motion that looked well animated when viewed by itself, but that didn’t fit the flow of action I wanted to create in the full assembly. I ended up animating the full film as a cut-out animation, so I could feel confident about achieving the stop-motion film. I certainly didn’t do this because of a lack of confidence in my stop-motion team, but rather from the fear of unintentionally torturing them with re-shoots.
Styles and Mechanisms
I did some of the stop-motion myself. The imagination sequences were mine. And since I’ve never done stop-motion before, and those scenes were from the imagination of a 12-year-old version of me, I felt that I could execute all this in a very naive style. I could hold myself to a lower standard than I was expecting from my crew. Unfair, I know!
The film ended up with five different kinds of animation. The main body of the film (the classroom kids and teacher) was animated by my crew with traditional puppets with ball and socket armatures. I did the other four methods of animation, which were: clay animation, 2D drawn animation, paper, and papier-mâché animation, and a hybrid form that combines 2D drawn animation with stop-mo. The drawn and colored animation frames were printed and glued to cards, and then flipped with a stop-motion card-flipping rig that I designed and built for the inside of my lead character’s head. Figuring all that out certainly kept the process from being boring.
What the…???
A terrific example of the obsessive nature of an animator is the subtle and beautiful rain effect that Sylvie Trouvé created. All eyes are drawn to Lily, the character in the frame, as the rain hits the windows behind her. But when you consider that the rain wasn’t a special effect, and that the raindrops were actually individual droplets of glycerin, which were all manipulated frame by frame with a small pin and a little puffer ball—well, that’s an animation crew!