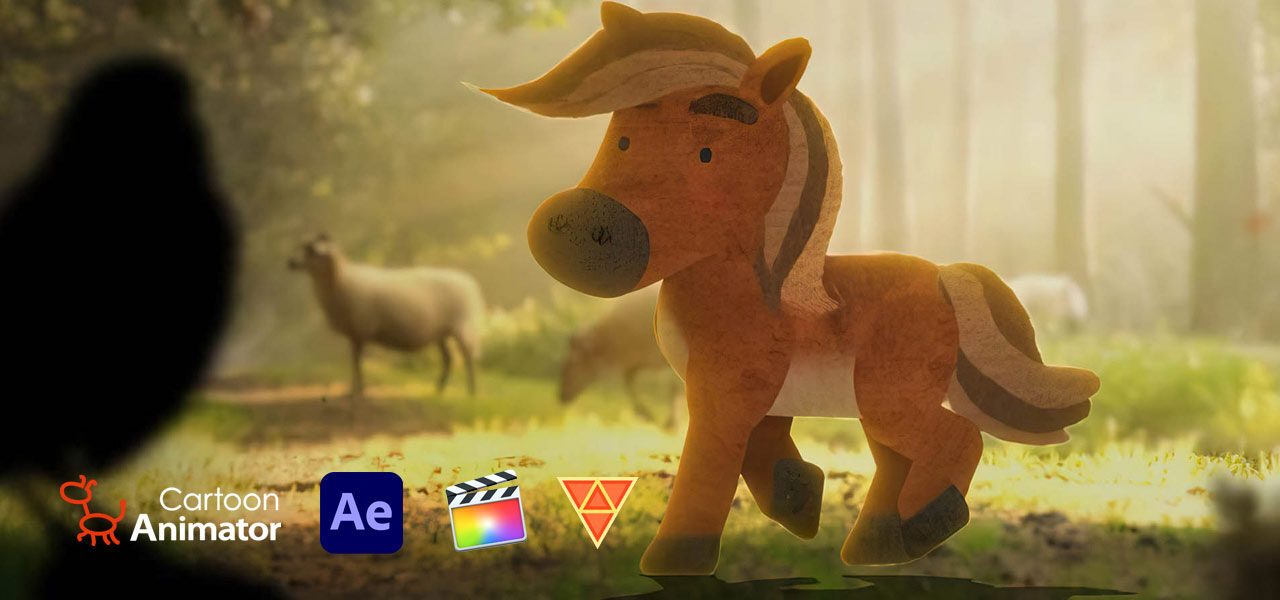
Mixing 2d animation with live action has been a popular approach for movies and series over the years. It has the advantage of combining visual realism with stylized elements, and this mix makes the film more engaging.
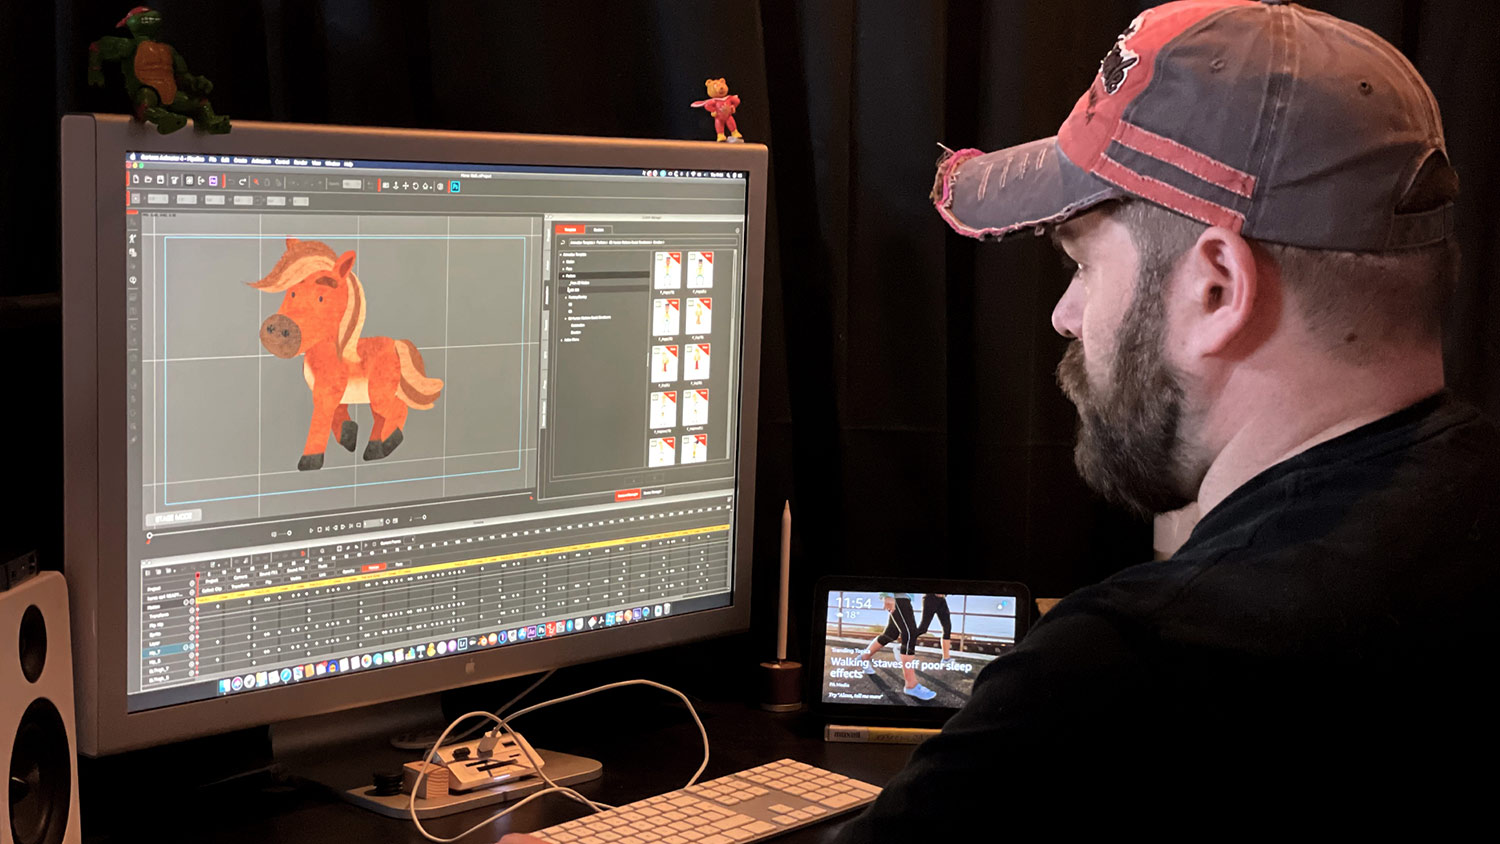
This hybrid technique can be painstaking for artists and filmmakers. However, with Cartoon Animator 4, the compositing of 2d animation with live-action footage can be easily accomplished. Below, animator and kids’ media expert Chris Meyer-White explains how.
Play
Hybrid films: combining 2d animation and live action
Chris Meyer-White
Chris Meyer-White: I have worked in home entertainment for over 15 years in both the U.S. and the U.K., working on projects for Warner Bros., Disney, BBC, Paramount, and many other studios. Most of this time, I was at the U.K. distributor Abbey Home Media, the leading independent home entertainment company behind well-known children’s shows like Care Bears, Topsy and Tim, Peter Rabbit, Sooty, Horrid Henry, Fireman Sam, and more.
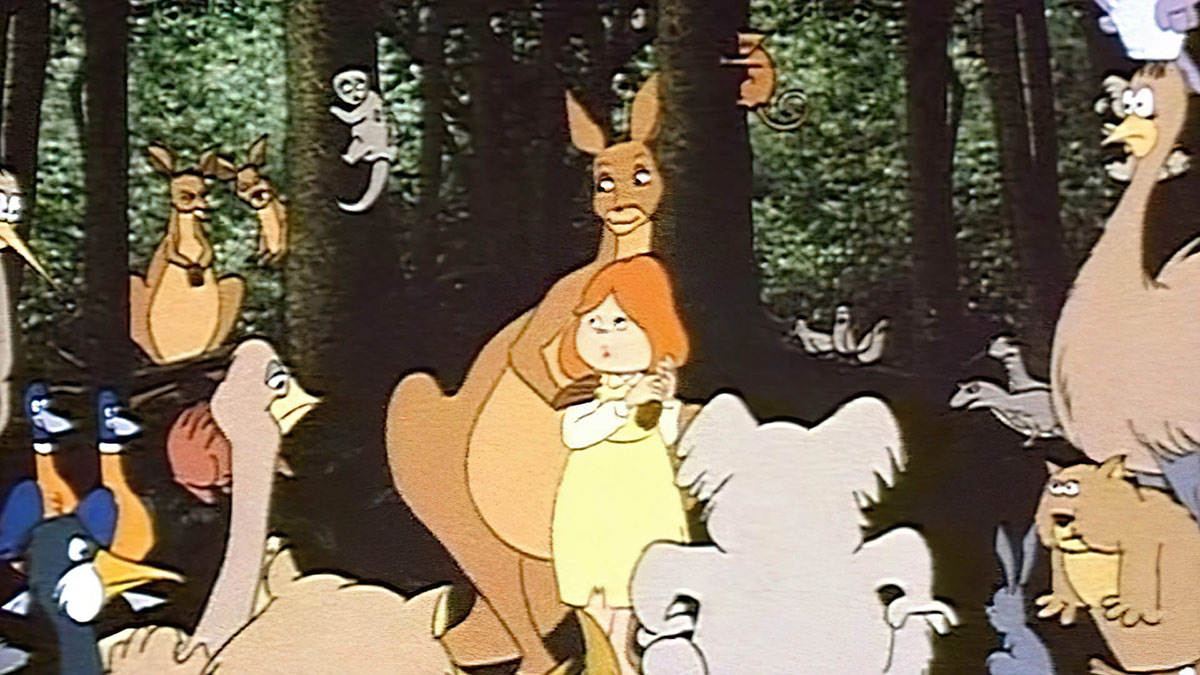
One film that sparked my early interest in animation was Dot and the Kangaroo, which used a hybrid 2d and live-action technique.
Dot and the Kangaroo is a classic story from Australia in which the main character Dot becomes lost in the Australian bush. Dot and all the other characters she meets in the film are 2d and the backgrounds are either live-action film or photos. This style really captivated my attention as a five-year-old, as it was so different from anything I had seen before. The quality is now a little dated, but it still has a magical charm and a mesmerizing style for a young child.
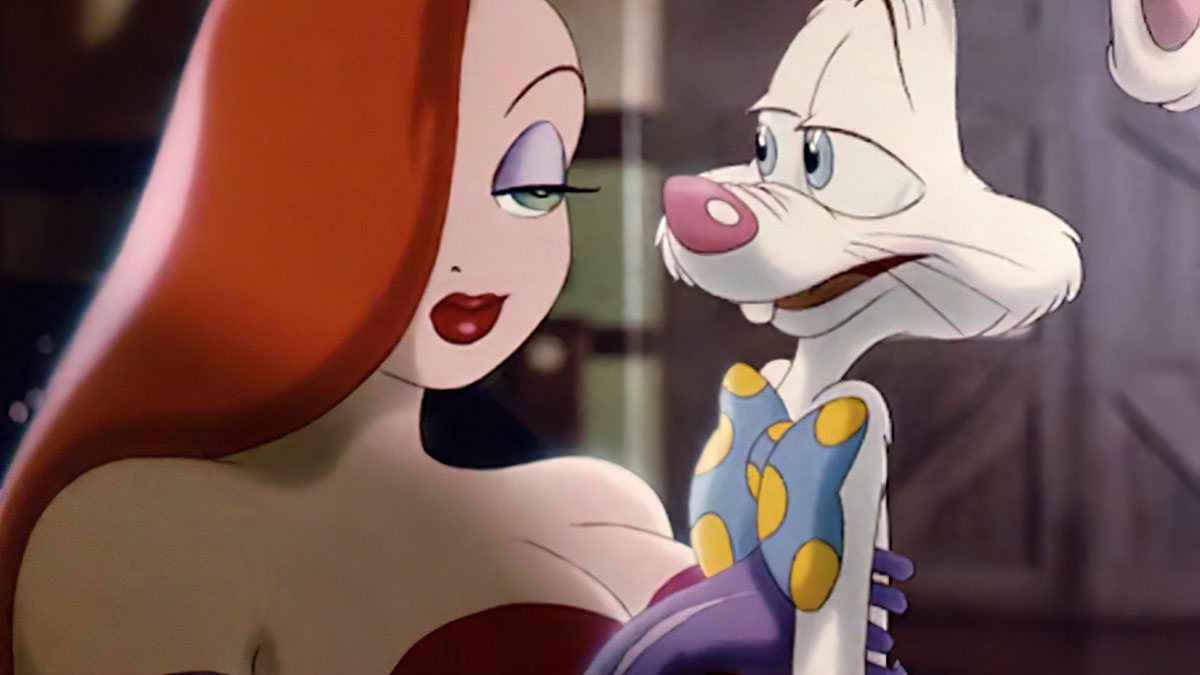
One of the most famous films to mix 2d and live action has to be the groundbreaking 1988 classic Who Framed Roger Rabbit, directed by Robert Zemeckis. The film stars Bob Hoskins and Christopher Lloyd as live-action characters alongside cartoon characters Roger Rabbit and Jessica Rabbit, as well as many others. The cartoon characters and people co-exist in the same world; for me as an eight-year-old, this film was absolutely mind-blowing and really cemented my fascination with both film and animation.
I owe a lot of thanks to the makers of Dot and the Kangaroo and Who Framed Roger Rabbit, as it was these two films that made me want to work in animation and film.
With Cartoon Animator, you can create similar styles easily and fast.
The advantages of Cartoon Animator
Over the years, I have used many different software packages to animate: Adobe After Effects (using Duik and Joysticks ‘n Sliders), Adobe Animate, Moho, and more. Cartoon Animator (CTA) is the only software package I’ve used that was easy to use straight out of the box. For example, the templates that come with CTA are a fantastic starting point for anyone looking at character animation — the free motions have you animating in no time.
Another reason why CTA is fantastic is that there are always brilliant new additions. The 360 head turn feature is a game changer and the 3d-2d animation motion feature is groundbreaking.
Now with CTA 4.5, you can export your animated characters as transparent .mov files and use them in external effects and editing software such as After Effects, Final Cut Pro, DaVinci Resolve, Motion, HitFilm, and more.
CTA supports both transparent video (.mov) and image sequence (.png) exports. If you choose to export your characters as transparent .png sequences, it results in thousands of files (as each frame is a .png file). Rendering out as a single transparent .mov file means you can limit the number of files and keep your project tidy, which really helps the animation pipeline.
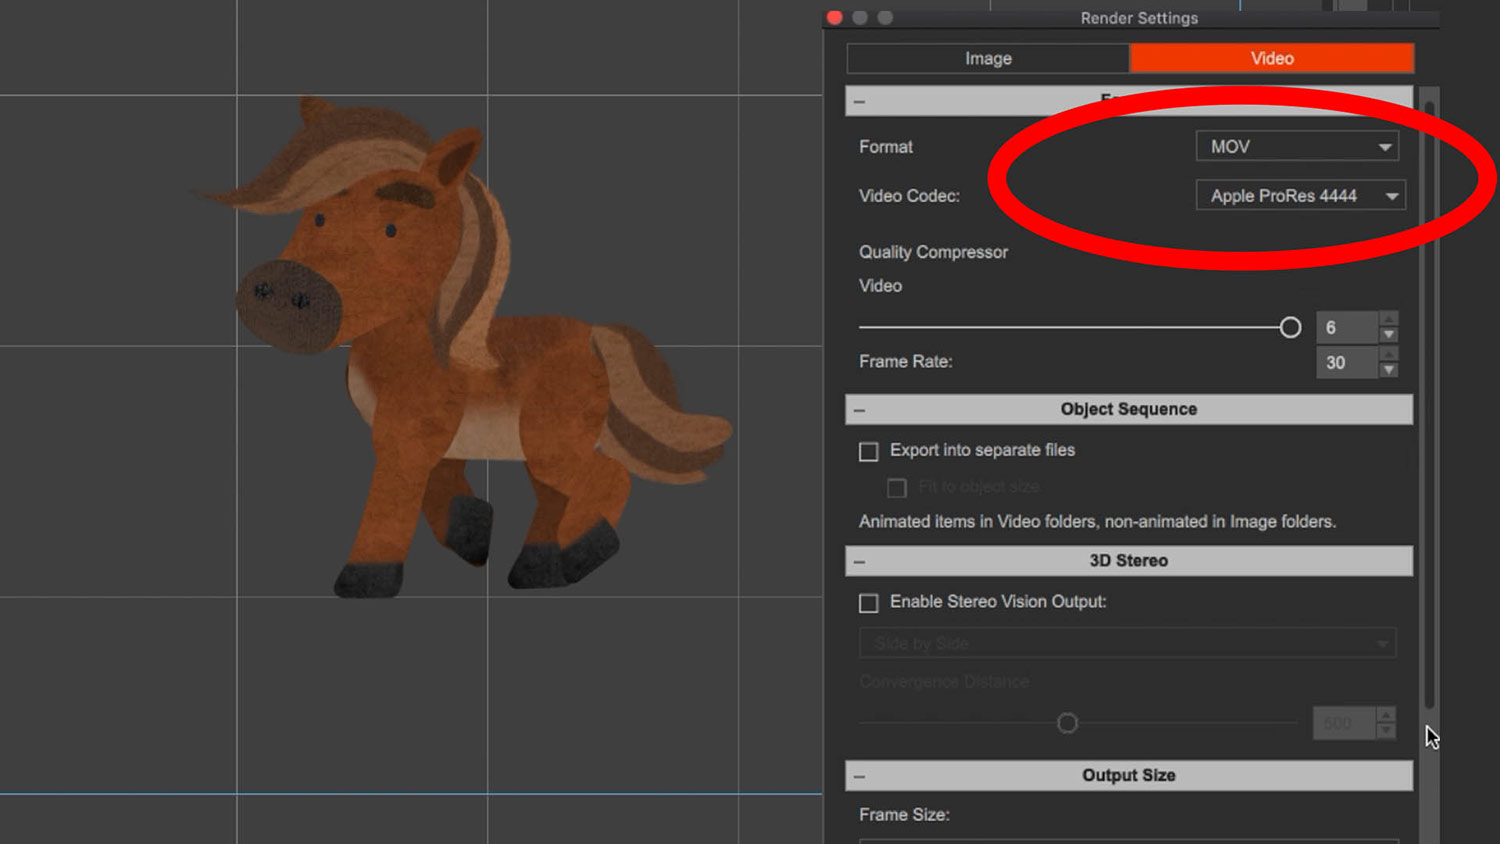
Exporting as a transparent .mov file really is as simple as clicking a button. When you go to render your video, make sure you select Apple ProRes 4444 — this will keep the transparency — then import into your software of choice and submerge your character into your scene. It’s that simple.
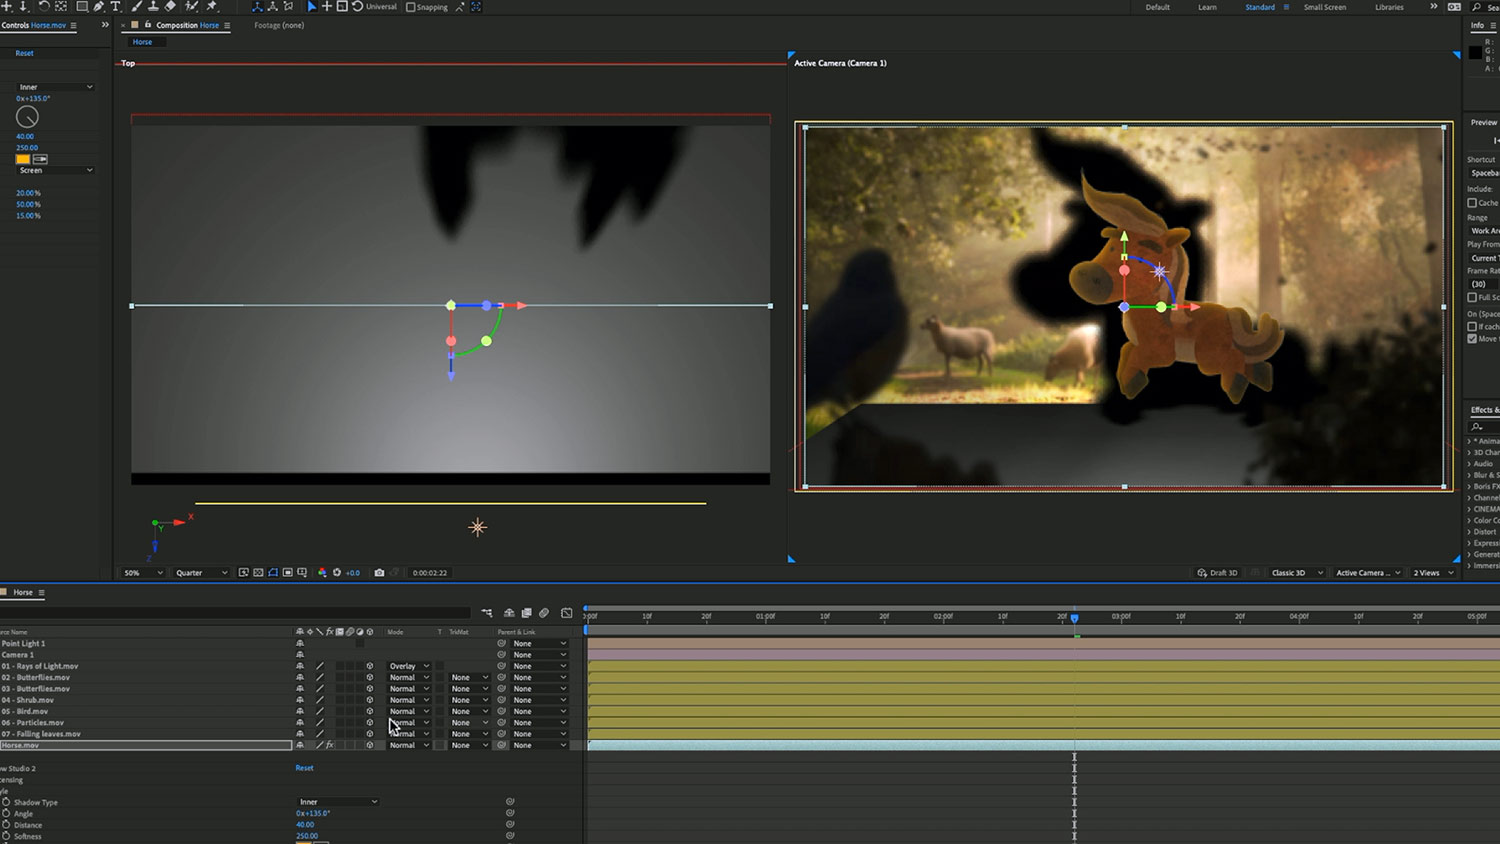
After Effects
I always use After Effects. You can simply export to After Effects with the plugin and select “.mov video” and, like when you render as ProRes 4444, your project will import into After Effects. Rather than a .png sequence, it will import as a .mov file with transparency.
Final Cut Pro
When using this technique in Final Cut Pro X, my pipeline is as follows:
Design in Photoshop: I bring my character into CTA as a .psd and animate in CTA. Then I simply export as a QuickTime using the ProRes 4444 codec, import my character’s QuickTime file like I would with any other video clip, and layer up the layers to help embed my character into the sequence.
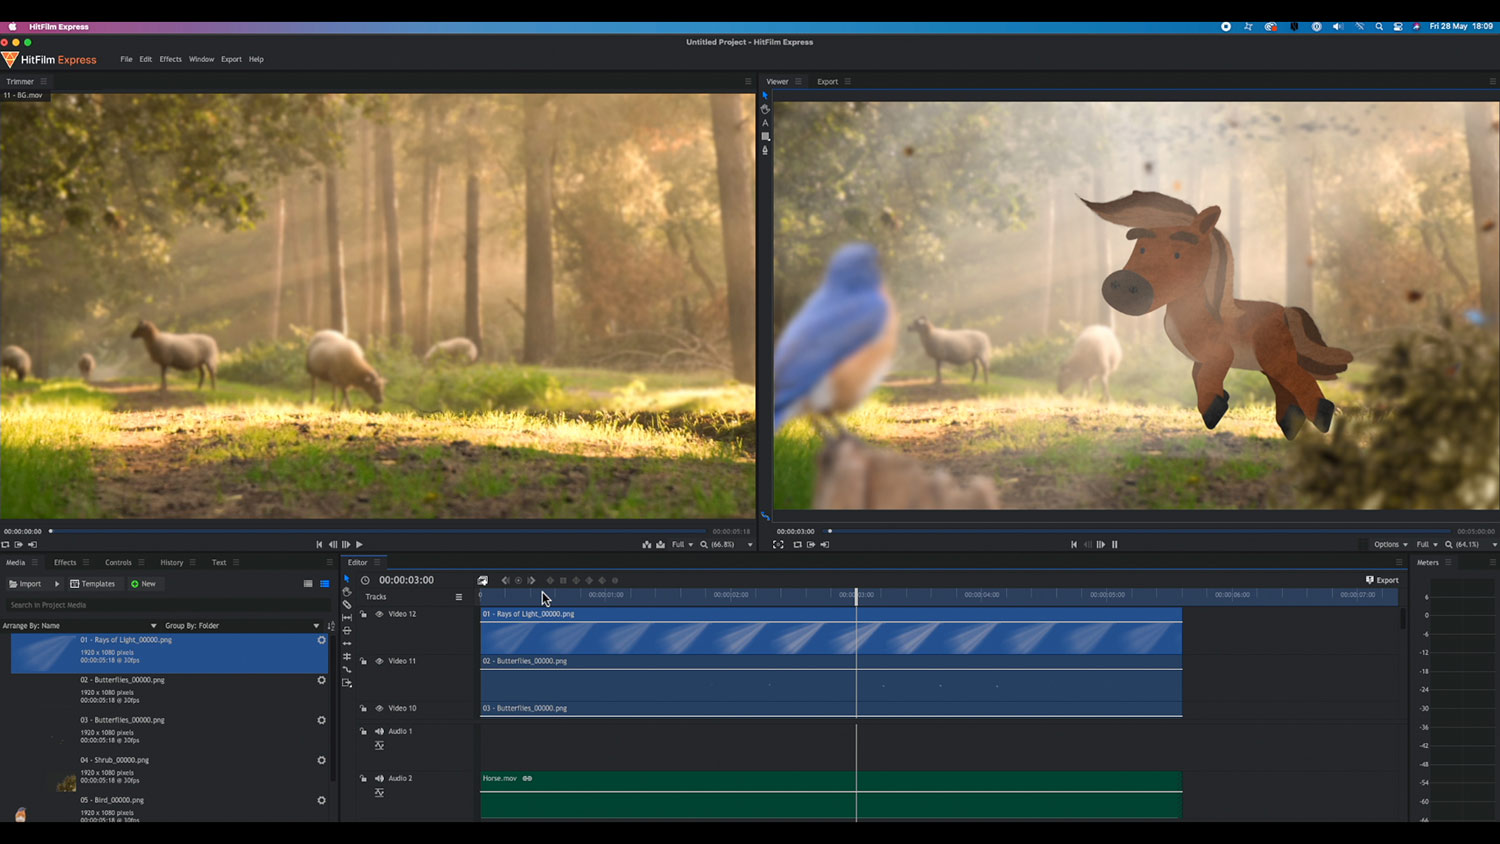
HitFilm Express
With HitFilm, as with After Effects and Final Cut Pro X, I simply import my transparent QuickTime file and layer up the scene with additional elements. However, you can do lots of special effects (like you can with After Effects) such as shadows, lighting, and more. It’s a fantastic tool for adding an extra level of sparkle to your animations.
Conclusion
What I love about Reallusion, the company that makes Cartoon Animator, is that they are always updating the software, constantly making it better to help users create fantastic animation sequences.
The option to export as a transparent QuickTime for Mac and PC is a great addition to CTA, especially now that you’re also able to export to After Effects as a QuickTime as well as a .png sequence via the After Effects plugin. This helps me improve my pipeline, and I’m sure it helps other users to quickly and simply create broadcast-quality animations. Download the free trial and see for yourself.