How To Make A Short Film Using Quill: An Animator’s Guide To The VR Software
Stay informed with free updates
Sign up to get our news digest — delivered directly to your inbox twice a week.
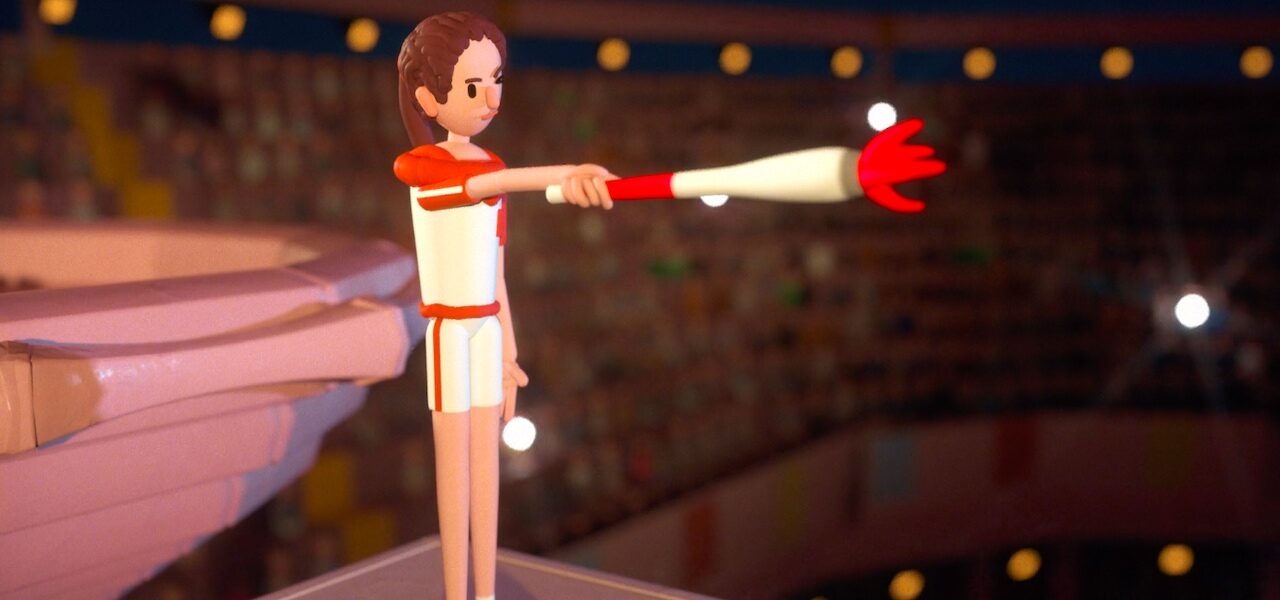
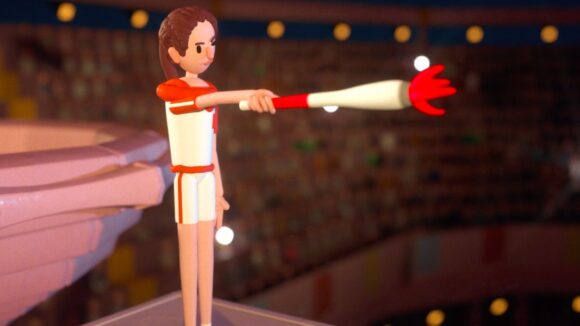
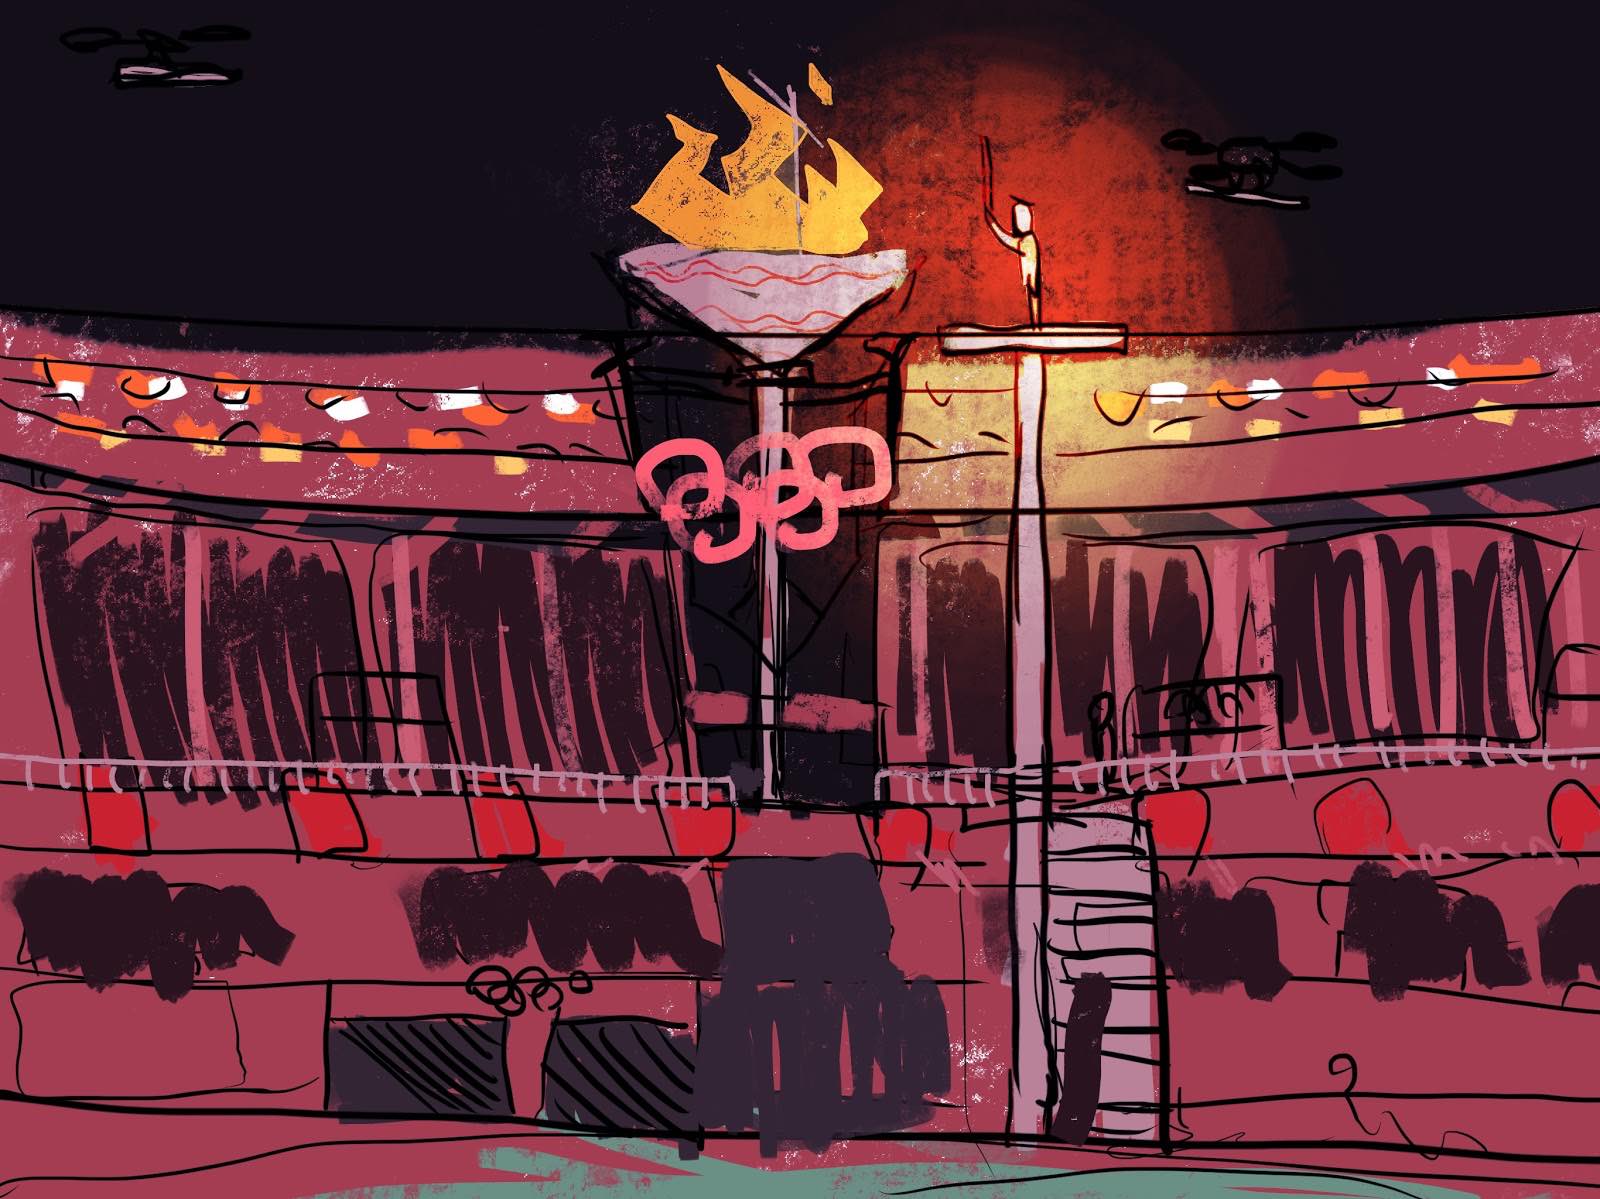
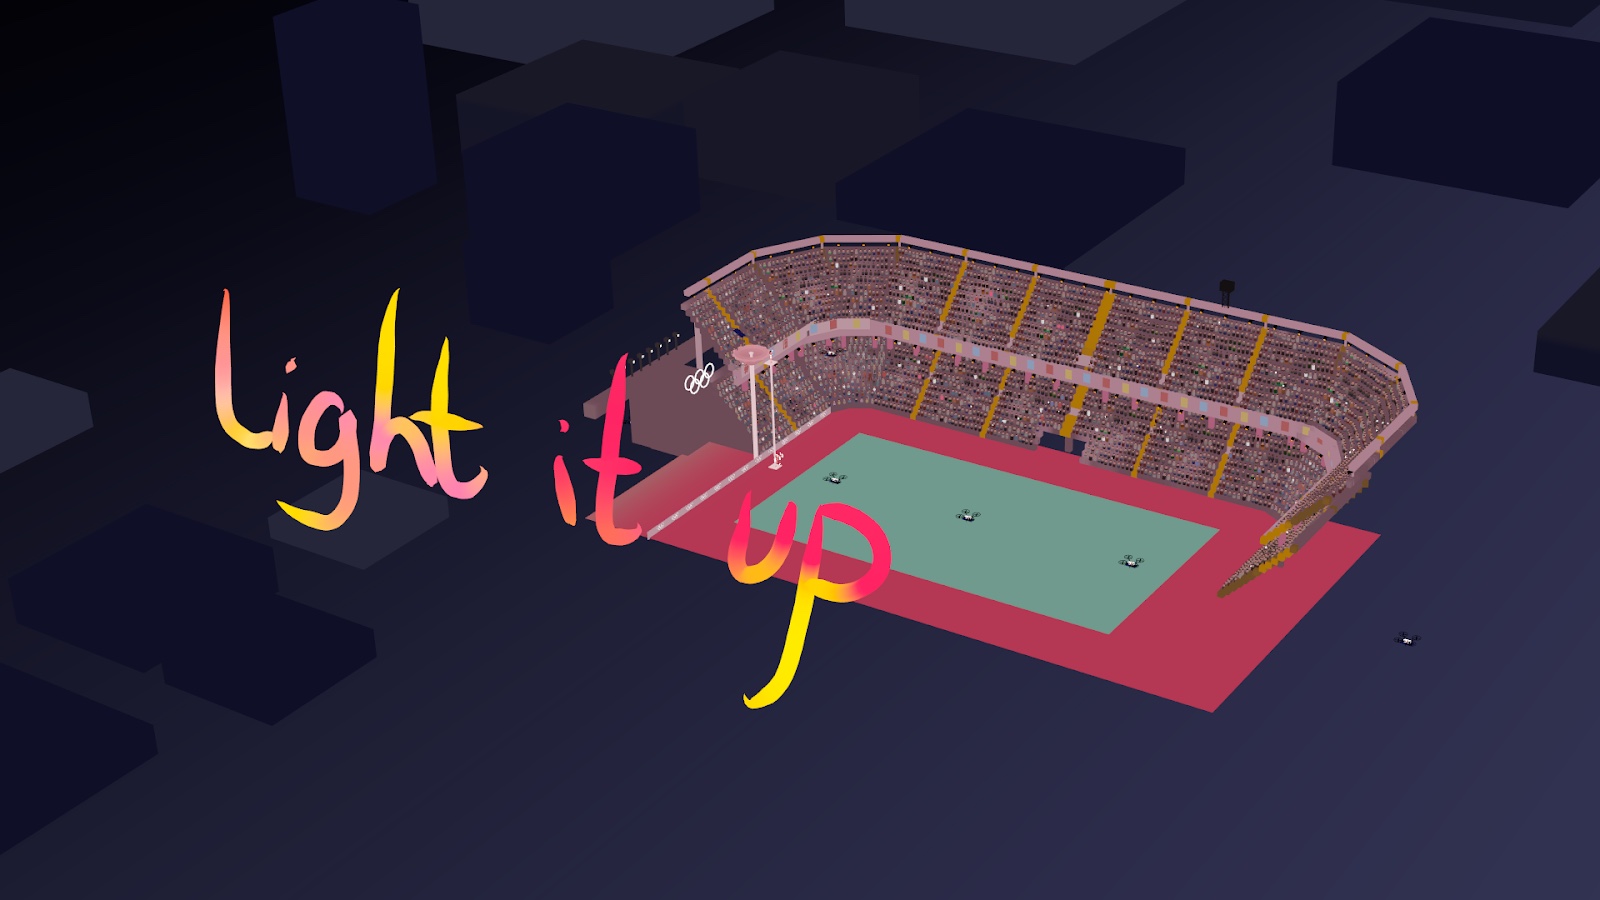
The Olympics may have been postponed, but the flame burns on in Light It Up. Zeyu Ren’s three-minute short depicts the lighting of the cauldron at a futuristic Games, by means of much technical wizardry. The film is succinct, playful — and a striking technical achievement in itself.
Light It Up is the latest product of Ren’s years-long experiment with Quill, a drawing and animation tool for Facebook’s Oculus Rift virtual reality headset. Ren is at the vanguard of a group of filmmakers exploring the software, which was first released in 2016, but became far more animator-friendly after a major update in 2018.
Harnessing the immersive space of vr, Quill lets animators create and manipulate 3d assets in an unusually direct and intuitive way. Ren alternately compares the process to puppeteering, stop motion, and traditional hand-drawn animation. He discovered the software while studying at the Rhode Island School of Design, which owned a Rift headset.
After some early freeform experiments with the tech, Ren made Wired, a wistful short which introduced a new narrative ambition to vr animation. It made waves in the tech community when he released it early last year. Although it was presented as a conventional film, to be watched on laptops or phones and not a vr headset, its footage was entirely captured inside Quill.
Vr has computational limitations that restrict what can be done visually. Wired looks elegant, but simple. So for Light It Up, Ren changed tack. He once again used Quill to animate, but assembled and rendered the film in Cinema 4D to give it a more cinematic feel. The result is a kind of proof-of-concept for integrating Quill into animation pipelines. As Ren tells Cartoon Brew, “I want Quill to be an industrial tool for artists, for animators who make 3d animation.”
Light It Up took six weeks to make: two weeks to build all the assets, two to animate, and two for the rendering and compositing. Below, Ren walks us through the production. Some of the process is shown in making-of footage at the bottom of the article.
Pre-production
Zeyu Ren: Once I had a basic idea of the story, I started to sketch out the storyboard using Procreate on Ipad. The color decision has to be made very early on, because you are “texturing” your model as you paint in Quill. All colors are final once you export them from Quill. I made one color key for each environment: stadium, farm, tv station, space, and all the exterior drone scenes. I was then able to import all the images into Quill as references.
After the color storyboard, I drew a black and white one as a kind of production schedule. There are only nine shots in the color storyboard, but the film has far more shots. I chose to sketch those extra storyboards on stickers and put them on a calendar. That way, it was clear what assignment I had for each day. Nothing was too tight yet, leaving room for me to improvise while I animated.

Working in Quill
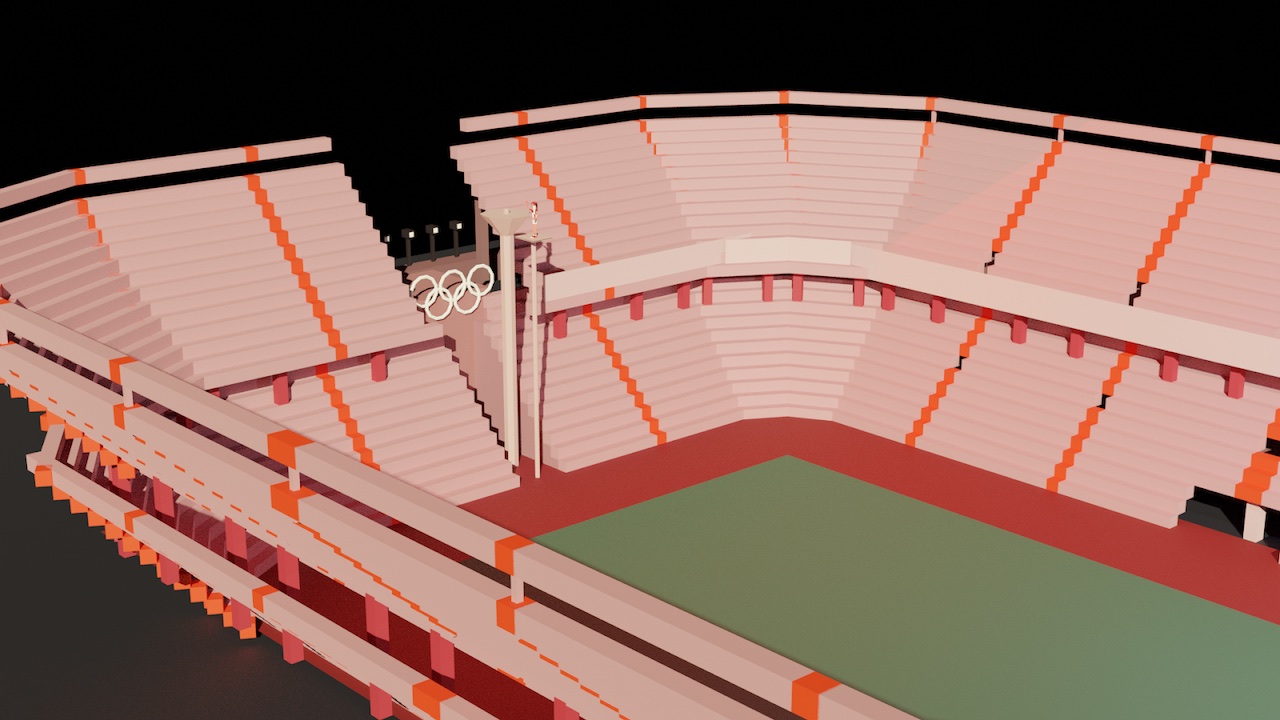
Most of the film happens in the stadium, so I built it first. I made a new Quill file and imported the concept art and reference photos of different stadiums. The stadium is generally symmetrical, so I built only a portion of it. Then I duplicated, rotated, and reflected the seats to complete the full stadium.
After that, I started to make the characters. In Quill, characters are animated as if they are stop-motion puppets. I had to select a stroke to paint in 3d, and move it every other frame, like in stop-motion animation. After I finished with one frame, Quill enabled me to duplicate it, so that I had an identical drawing of the last frame, which I could then change to a different pose.
Every frame contains all the 3d information about the character, so I didn’t want the polygon count to be high. I made the main character with as few strokes as possible. Her upper arm is just one cylinder.
I animated the flame by using the Anim Brush tool, which records the paint stroke on the fly. Making particle effects is great fun in vr, because you can draw them in real time. The laser beam was created in a traditional animation way: I painted a stroke on each new empty frame, so that I could make sure each bounce of the laser hit where I wanted it to.
I “puppeteered” the audience in the stadium by using the grab tool. Quill records the motion of my Rift controller, so I don’t have to key-frame those simple wiggling motions.
So far, I’ve mentioned four ways of animating in vr: moving characters’ existing parts every frame like with stop motion, using the grab tool to puppeteer the paint strokes, drawing in real time using Anim Brush, or painting on empty frames like in traditional animation. In Quill, you can mix those techniques to achieve the effect you want. You have full control.
Although I have a storyboard, I tend to look around in Quill to find the best camera angle. Then I work from that angle, so that the assets always look correct from the camera’s point of view. Also, I can simplify objects that are unlikely to be in view, in order to make the scene lighter — vr scenes like this can easily go up to several gigabytes. Quill currently cannot export camera location — fixing the camera comes later in Cinema 4D.
Because the Quill model will eventually be rendered in a realistic style, you only paint the diffuse color of an object in Quill. Imagine it’s an overcast day — that’s how everything should look at this stage. The lighting is taken care of when we get into Cinema 4D.
Working in Cinema 4D
I found a good system for shot management: each file is a scene, each layer is a shot. When I jumped into Cinema 4D, I was able to work on the shot-layers one by one, hiding everything else. I had four main files: stadium, farm, tv station, space. Inside each file was 10–20 layers corresponding to different shots.
I imported the Quill file (Alembic format) into Cinema 4D. I selected a layer to work on and started to make cameras according to the shot list. I set the cameras according to cinematography rules: 180-degree rule, one-third composition, close-ups to draw attention, etc. I created the sky using HDRI maps that mostly resembles the concept art. It could also be a flat color, like the dark night sky.

After setting up respective cameras and lights for different shots within a scene, I used the Take system. Each “take” remembers a state. For example: on take A, only Camera A and Layer A were visible, and everything else was hidden or disabled. Then I set up all the shots for that scene in a single Cinema 4D file. If I ever needed to change anything in Quill and re-export, the shots updated instantly.
I selected Loop mode for my drone and grass animation, so they keep looping while other animation only plays once. I applied the Subdivision Surface modifier to my Quill mesh to make the model look smoother. I also created a shadow depth of field by increasing the camera’s aperture.
I’d already textured the diffuse color channel inside Quill, but the reflectivity of the assets remained the same until I sorted them into different materials: glossy, metal, and emissive. I added noise to the roughness channel to create some imperfections to the surfaces. I created cool and warm lights on the different sides of the character and applied studio lighting techniques, like key light, fill light, and edge light.
Afterward, it’s all standard Cinema 4D animation workflow: set up some fog, add some glow, reduce some noise. Put all your takes to the render queue, and you can render the whole thing while you are out.
Then I imported all my image sequence into Adobe Premiere and stitched them together into a rough cut. I looked for glitches and errors and went back to Quill to fix the animation before the final render. I color-corrected in After Effects, and added some grain to make the film look better. I also made the title and the credits in Quill, to tie the whole piece together.